How to Use the Payara Tools in Apache NetBeans IDE
Jakarta EE
Apache NetBeans is a popular IDE for Java development, offering a wide range of features for streamlining the development process. Payara Server, a robust and scalable option for deploying Jakarta EE applications, seamlessly integrates with Apache NetBeans. In this blog, we explore the seamless usage of Payara Platform 6 within Apache NetBeans, highlighting the benefits and demonstrating how it enhances your development workflow. Whether you’re starting a new project or working with an existing app, this guide helps you leverage the power of Payara Server in your development process. Follow the steps in this blog to set up Apache NetBeans to use Payara Server for running your web apps.
If you haven’t made a project to test yet, carry on to the first section of this guide. If you already have an app to run, then you can skip this section.
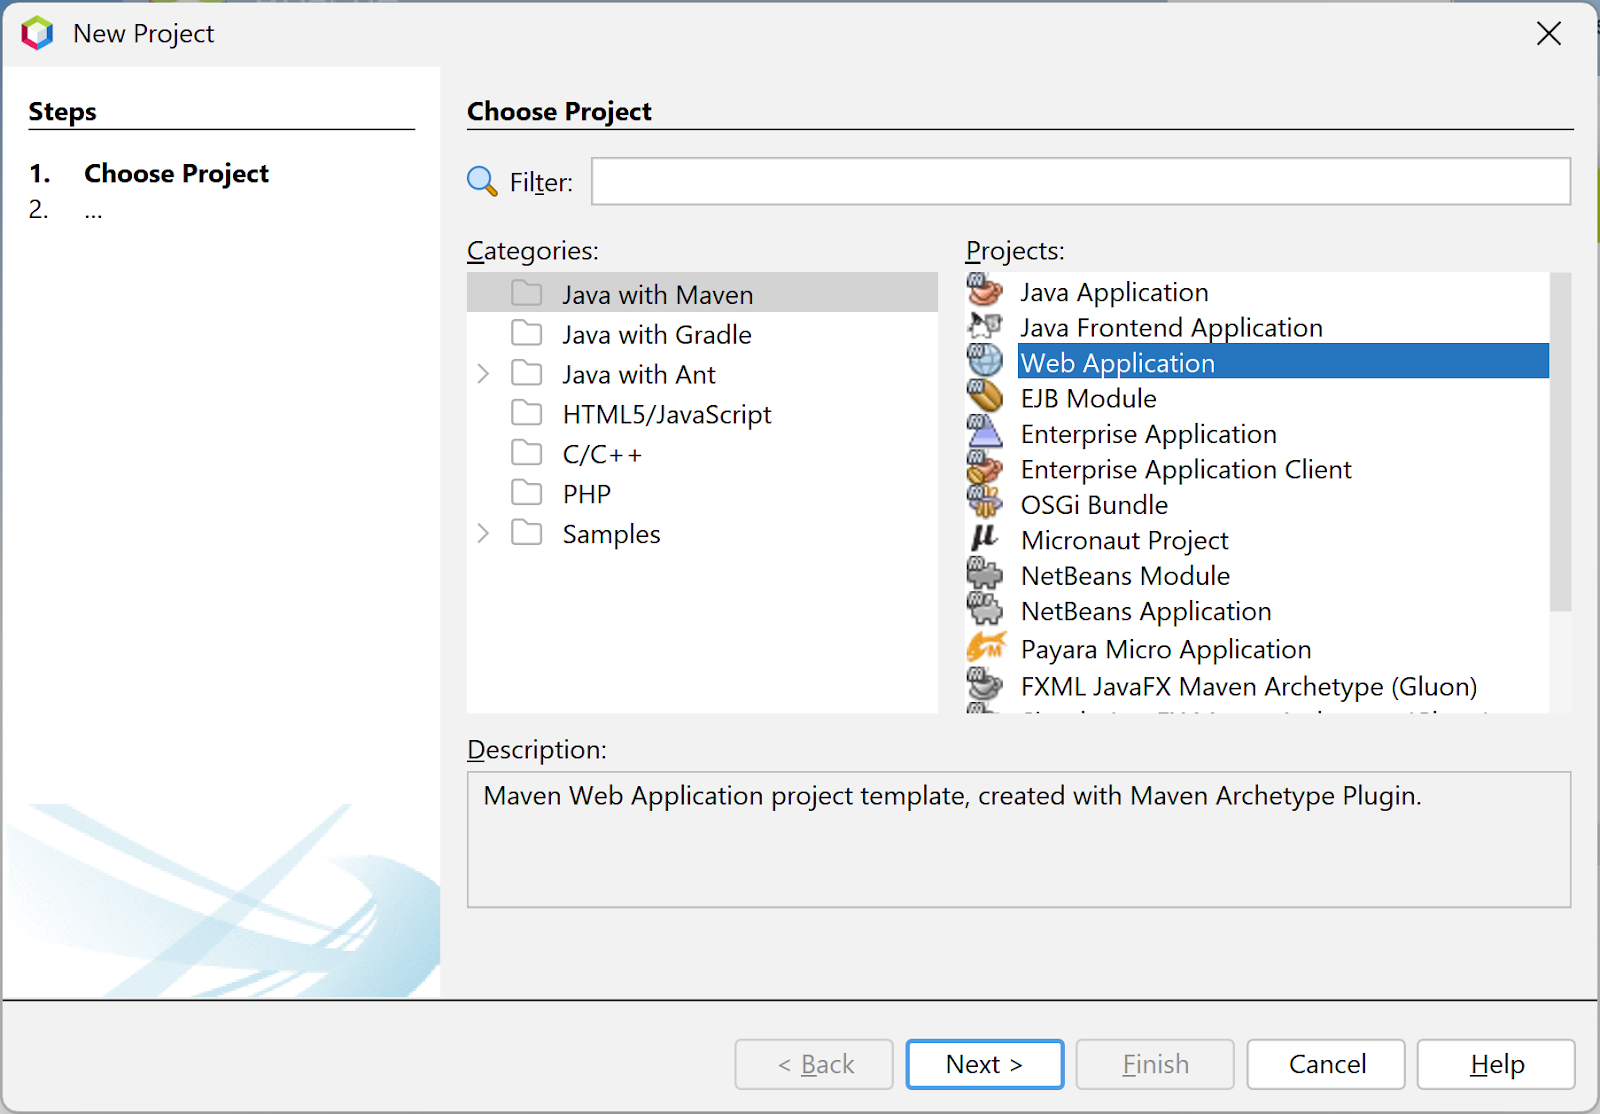
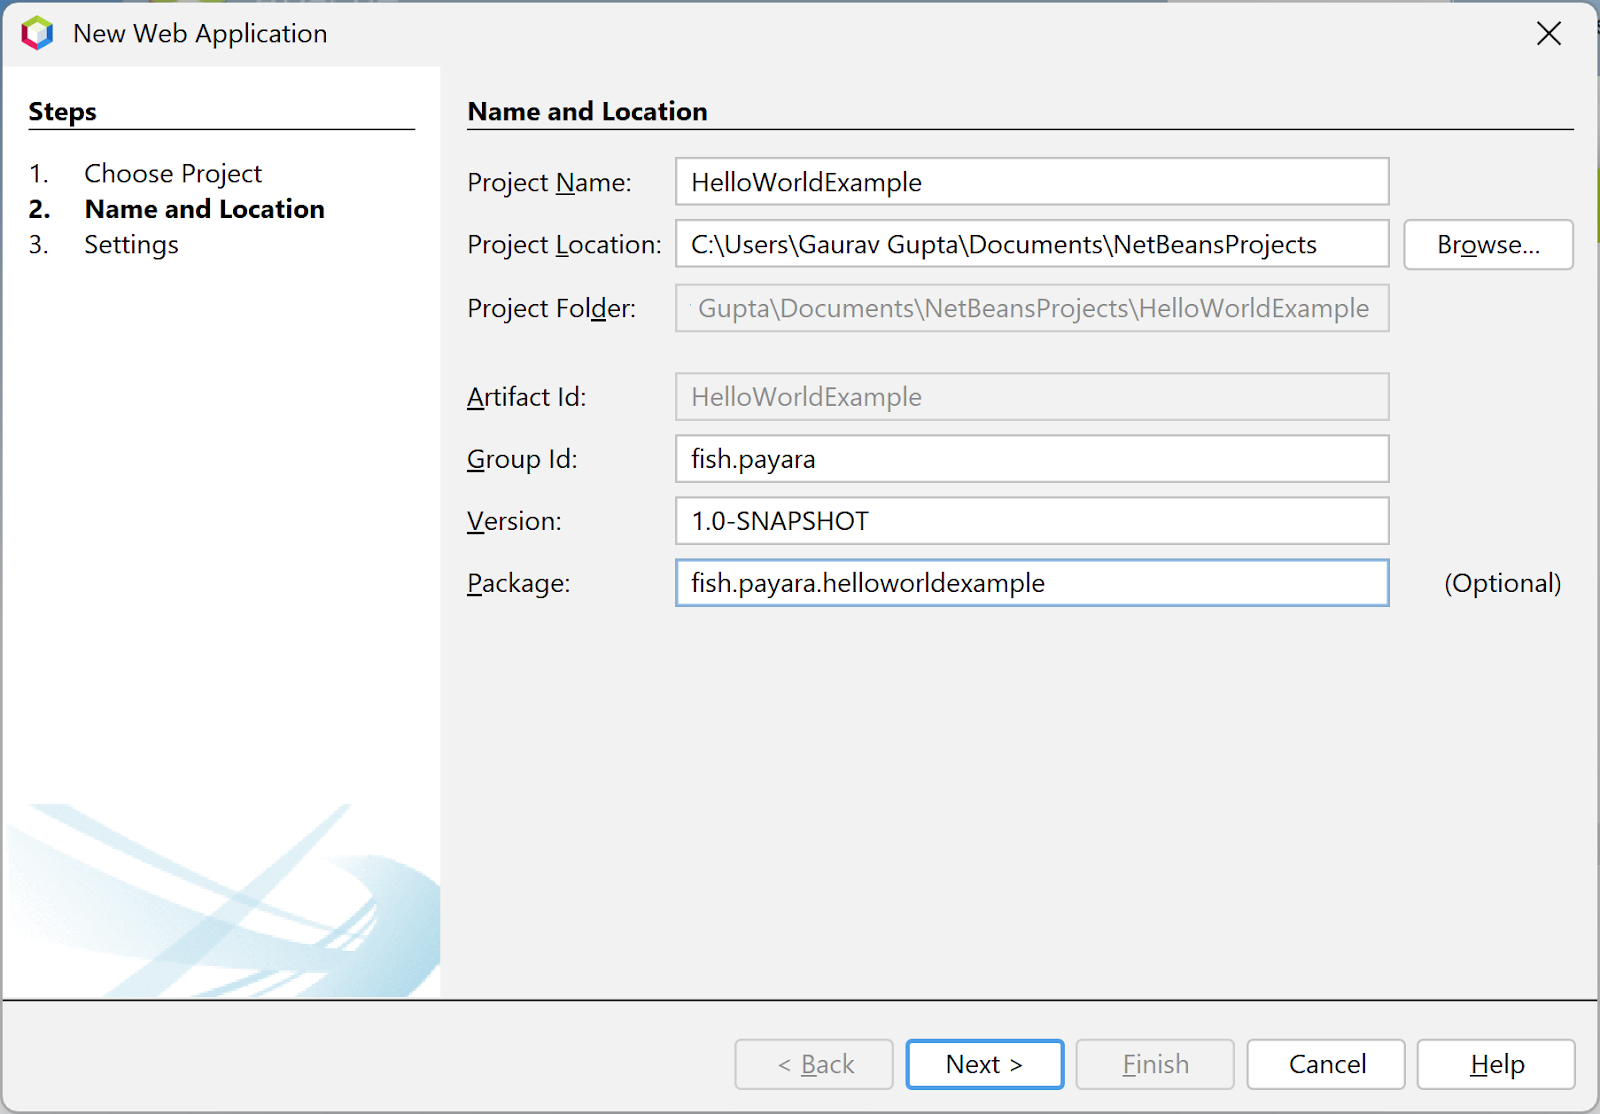
This first section will guide you through creating a Maven project which can be deployed to Payara Server. If you already have one in mind, you can skip to the next section.
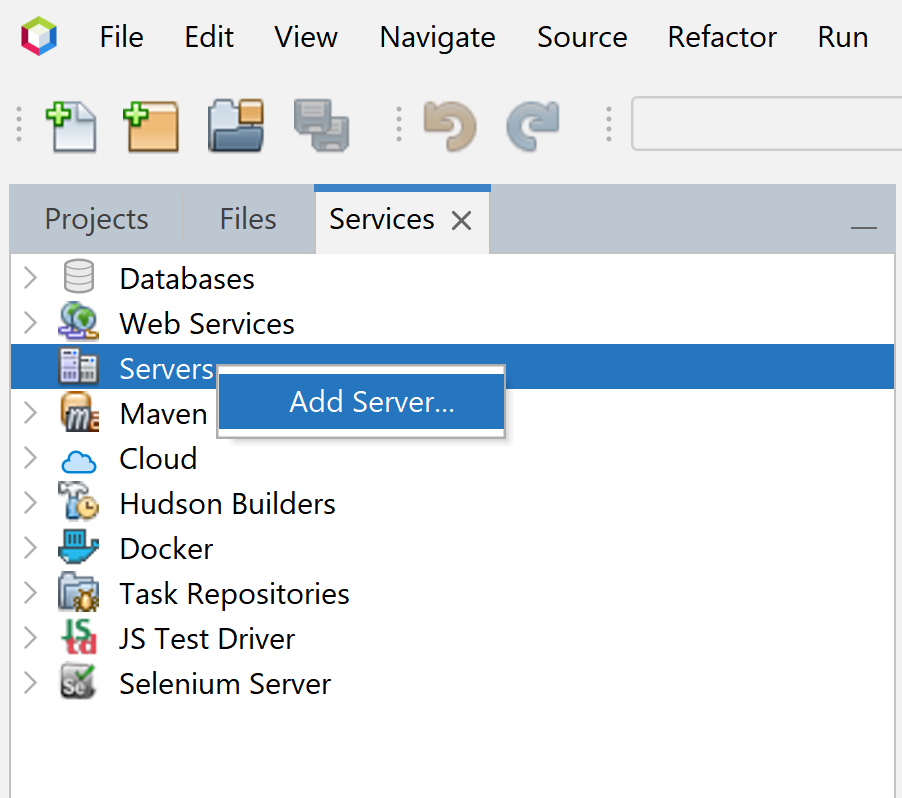
3. The final section will give you the option to select a server. You can select Payara Server here if it’s already configured. If not, click Add and continue to the next section.

3. From this menu you can either select an empty directory and a Payara Server version to download, or you can choose an existing Payara Server install directory. Accept the license agreement and click Next to continue.
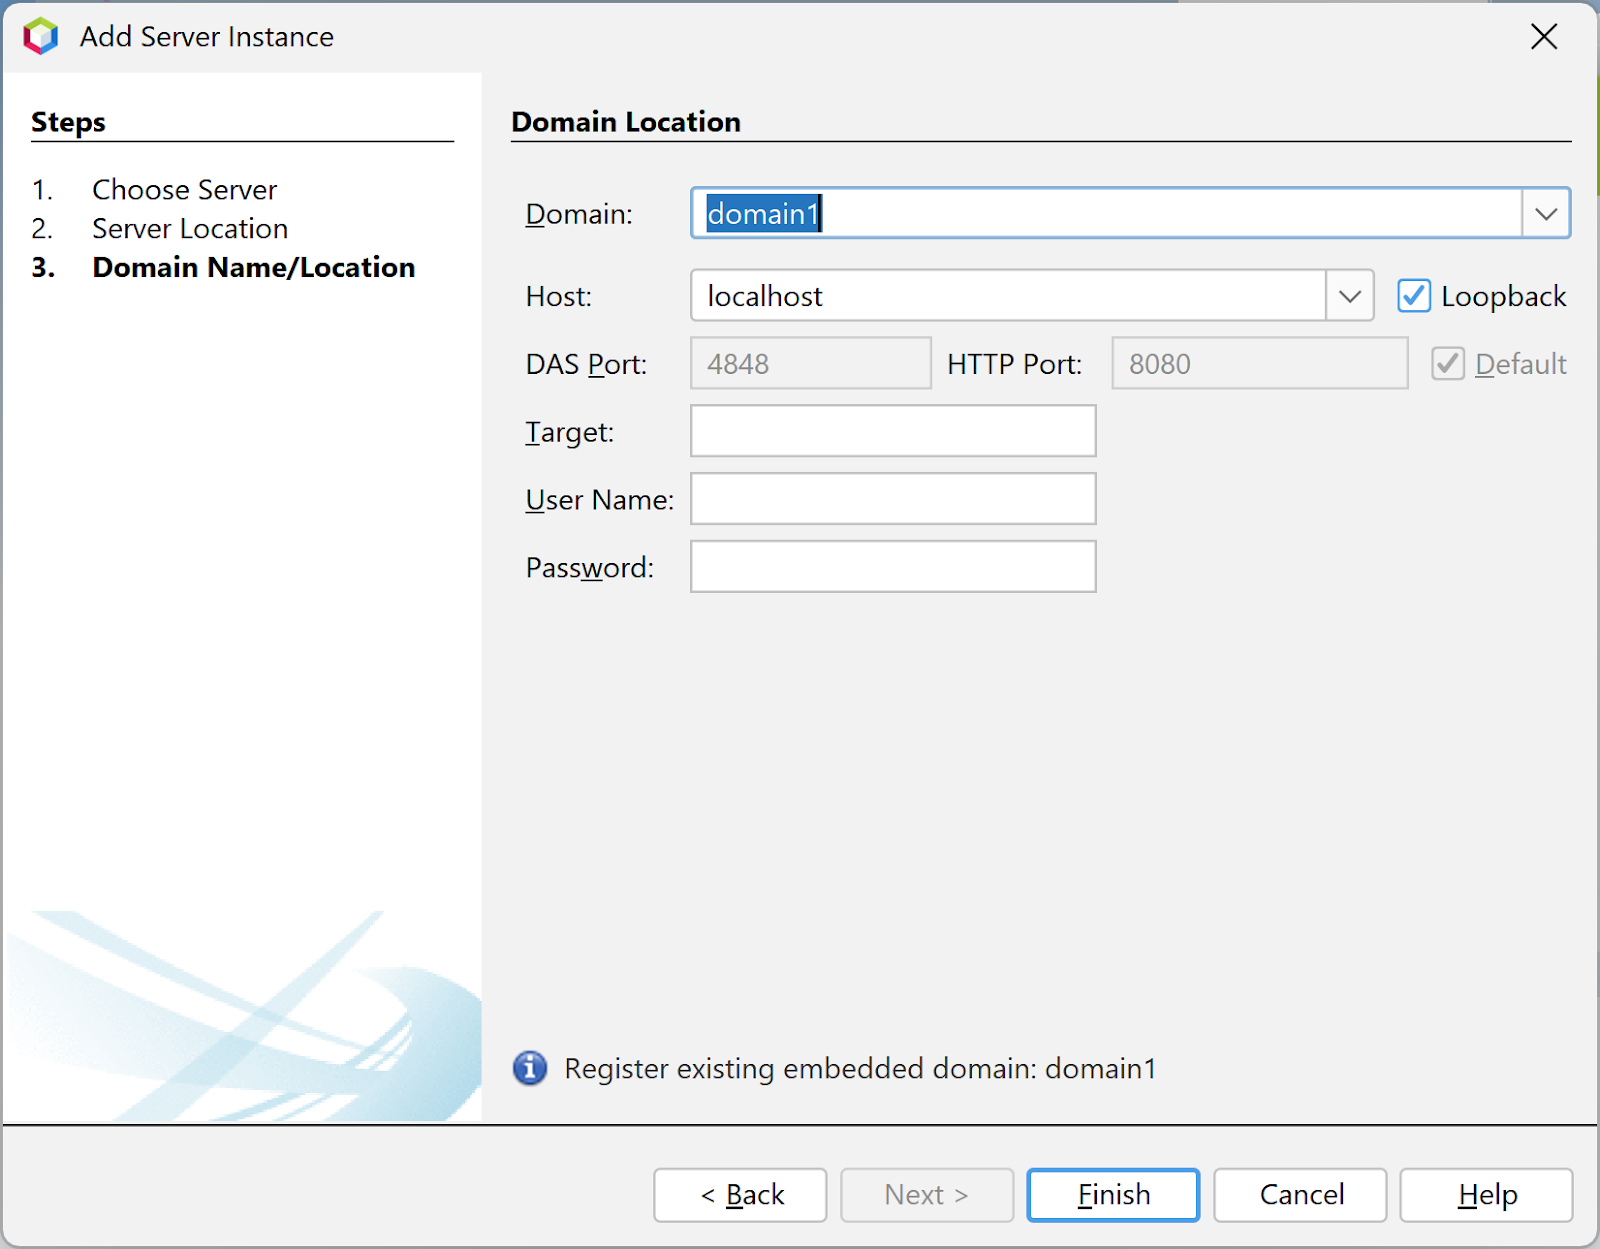
4. Select a domain. A domain is essentially a server at runtime. Unless you’ve created your own, you can use domain1 as it’s the default domain. Enter admin as the username and leave the password field blank.
5. The server is now created!
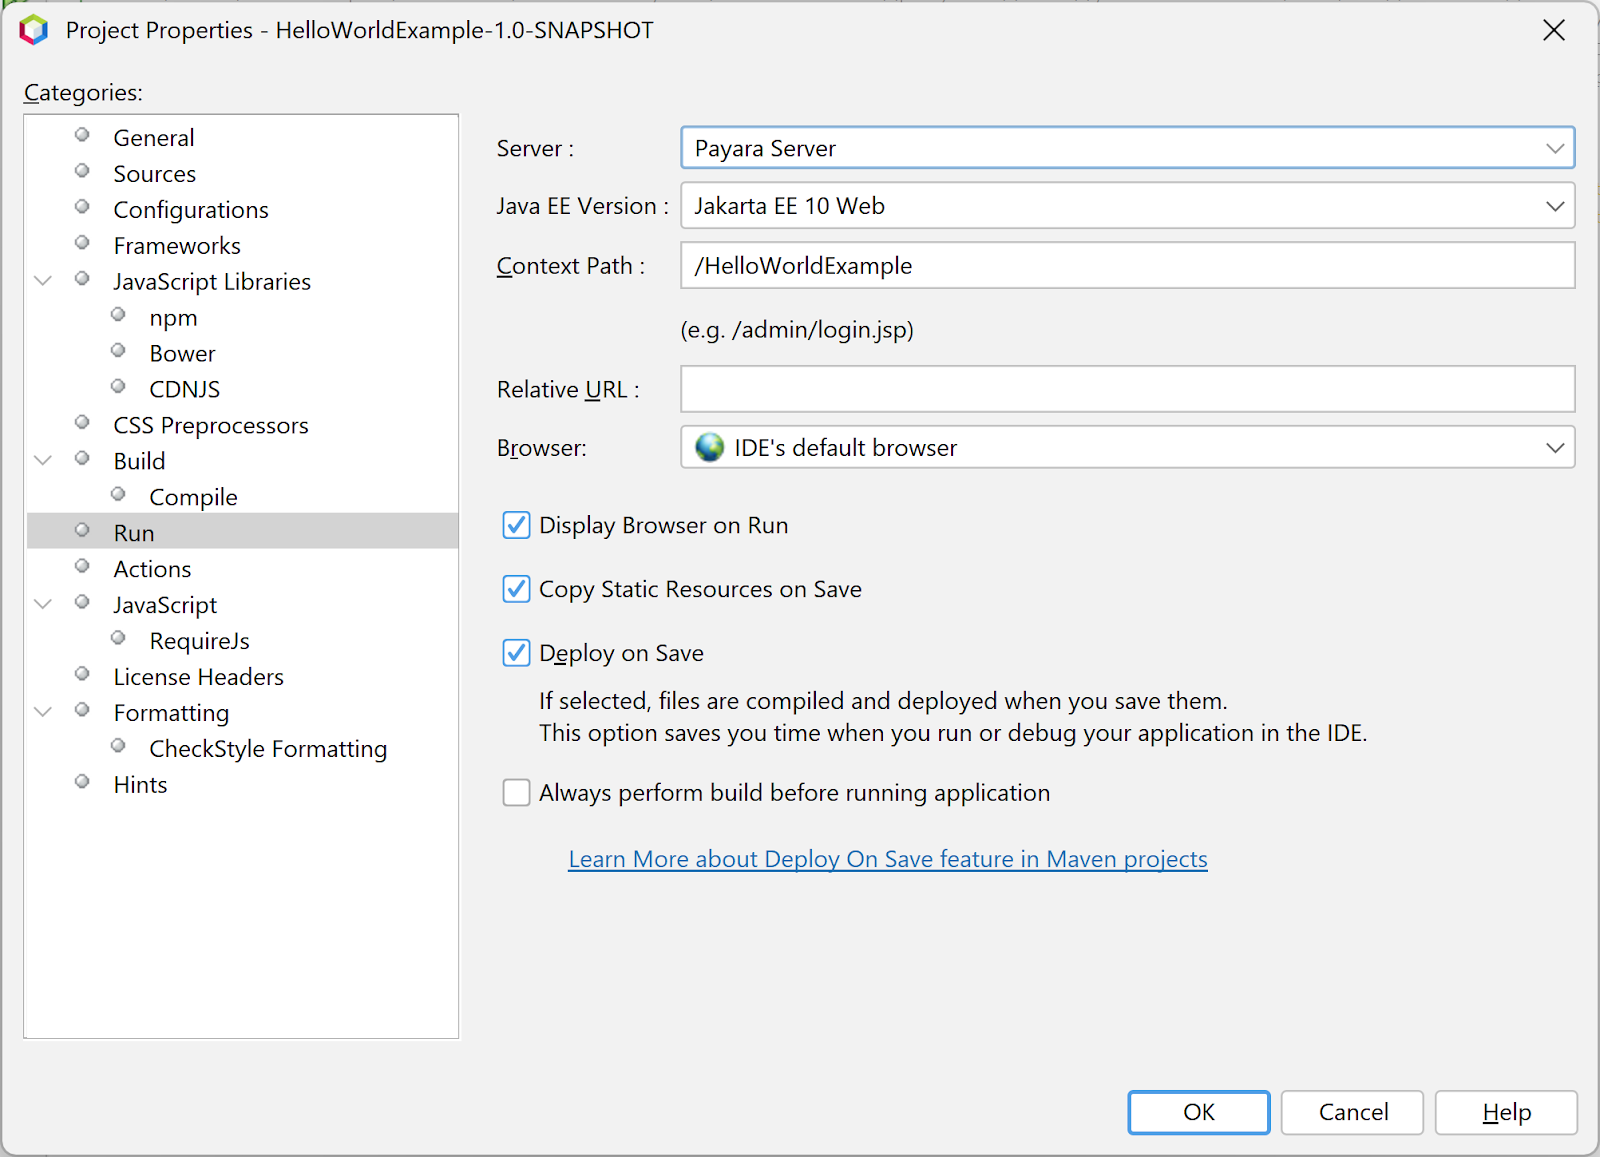
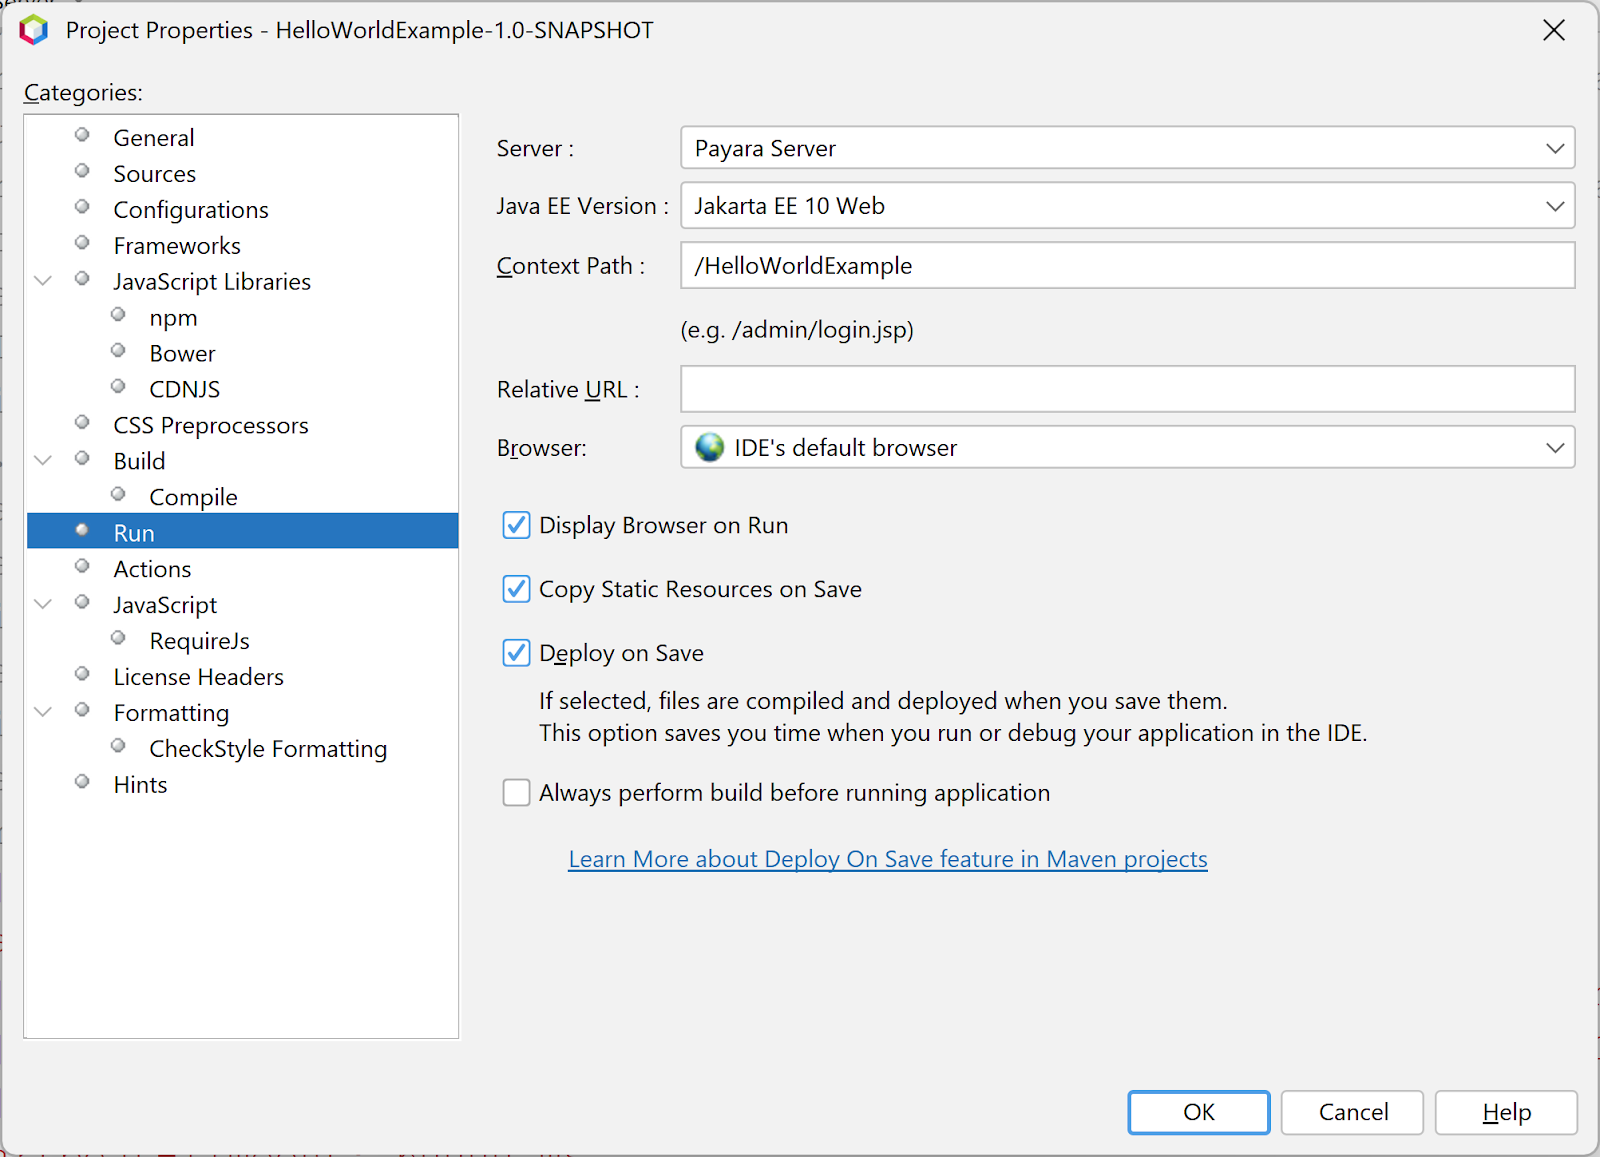
6. If you want to add the server to an already existing project, right-click the project and select properties. From this menu, go to Run and select the new Payara Server as a target server.
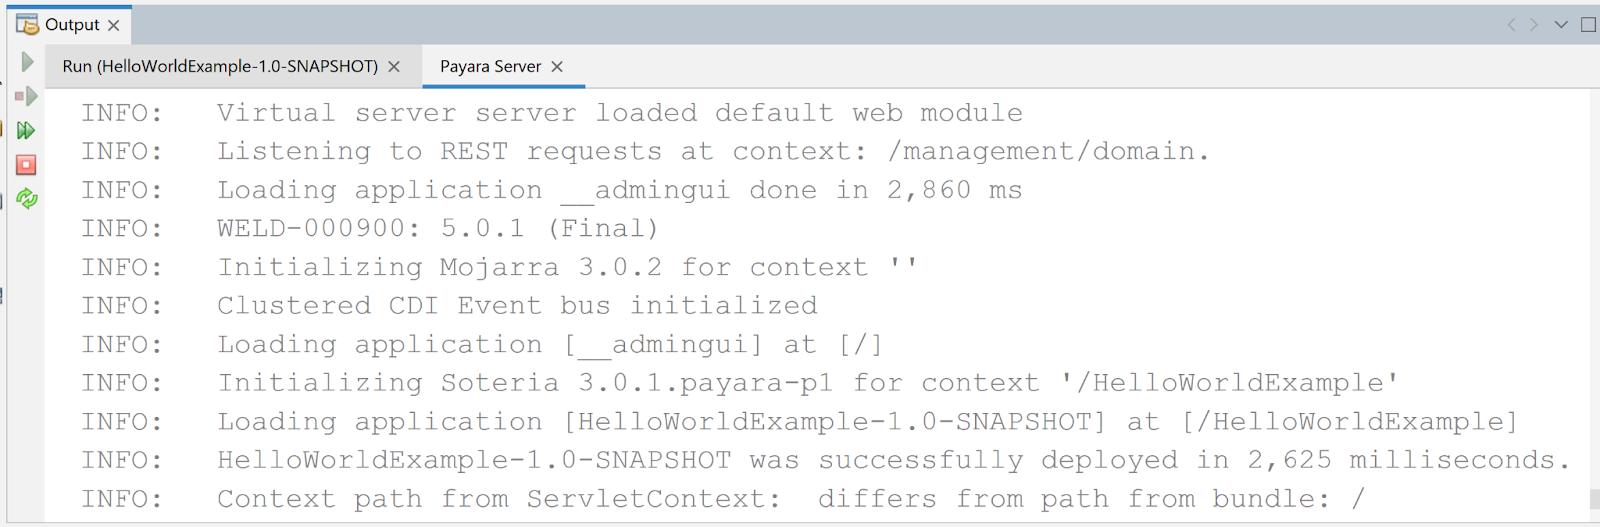
After closing this window, right-click on your project, and then select ‘Run’ (or simply click the green ‘Run’ arrow at the top of the window). The server will start up, and after a moment, you should be greeted with a ‘Hello World!’ message in your browser.

To stop the server, switch to the server log at the bottom of the window under Output → ‘server name’. Click the stop sign in this window.
Rather than selecting ‘Run’ from the right-click menu or the top of the Apache NetBeans window, you have the option to choose ‘Debug’ from similar locations. By doing so, the program will automatically run, and the debugger will be attached to Payara Server.
Payara Server allows IDEs to deploy the application in Hot Deploy mode by reusing the existing application instance and updating its classloader & internal components relative to the modified source. This can lead to significant savings of time when an application is redeployed and boost developer productivity even more.
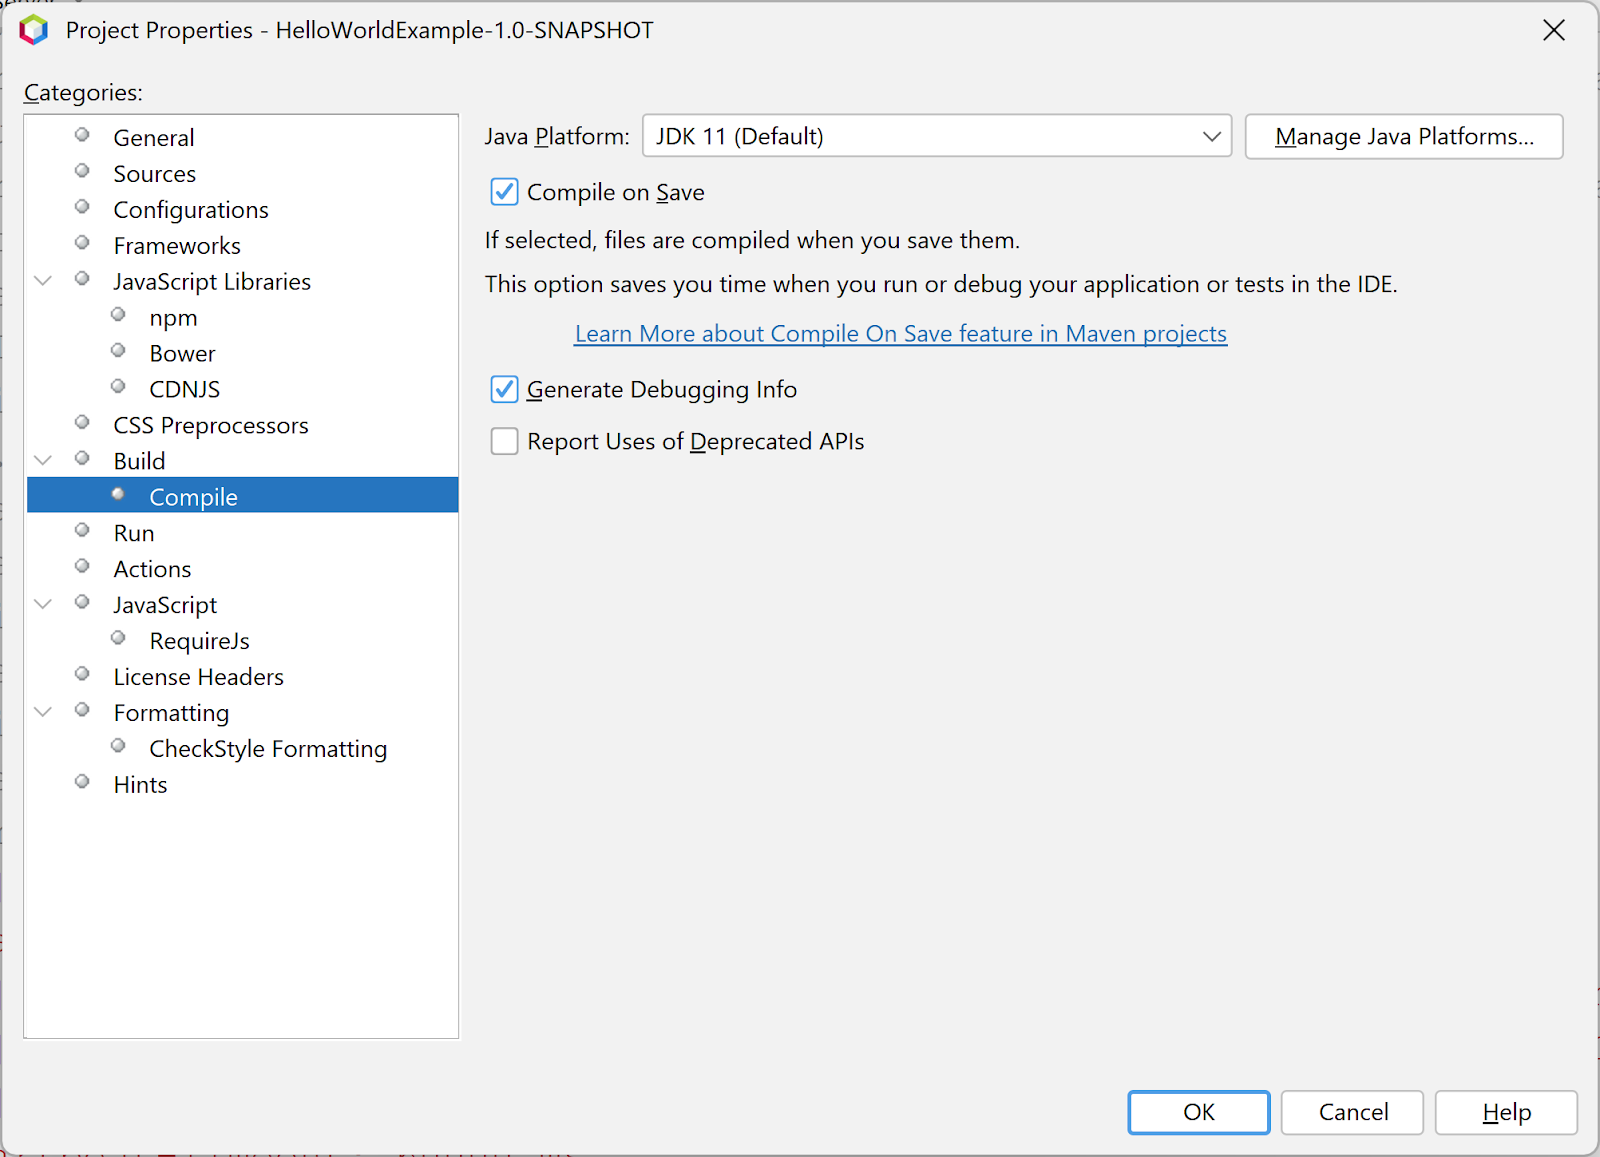
To configure the Hot Deploy feature, Go to Properties on your project and then the Compile section of this window to enable the Compile On Save feature.
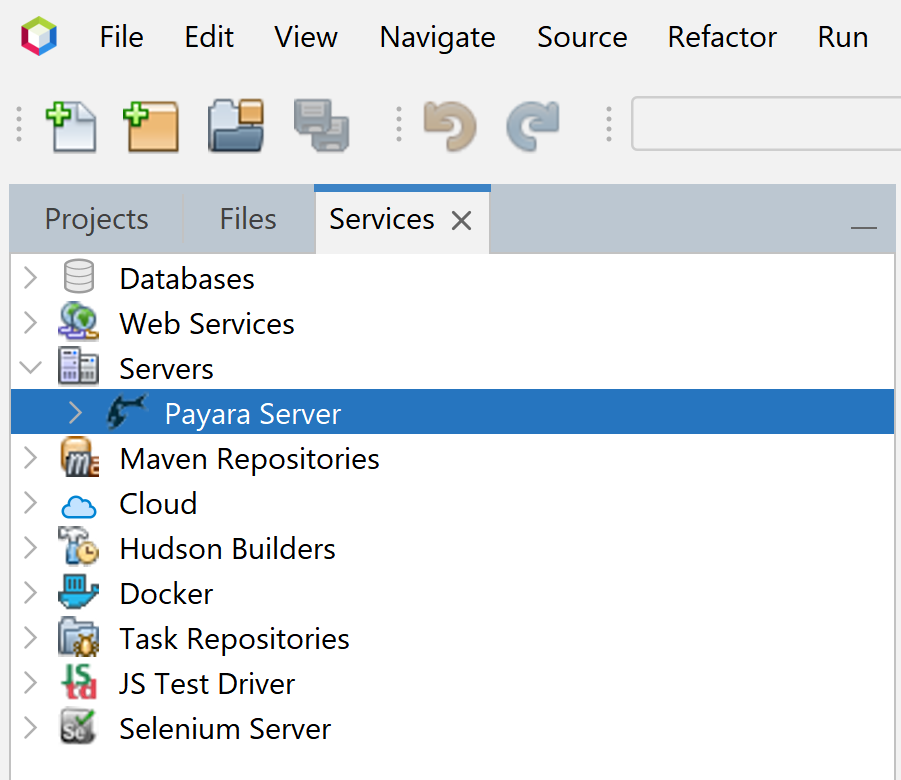
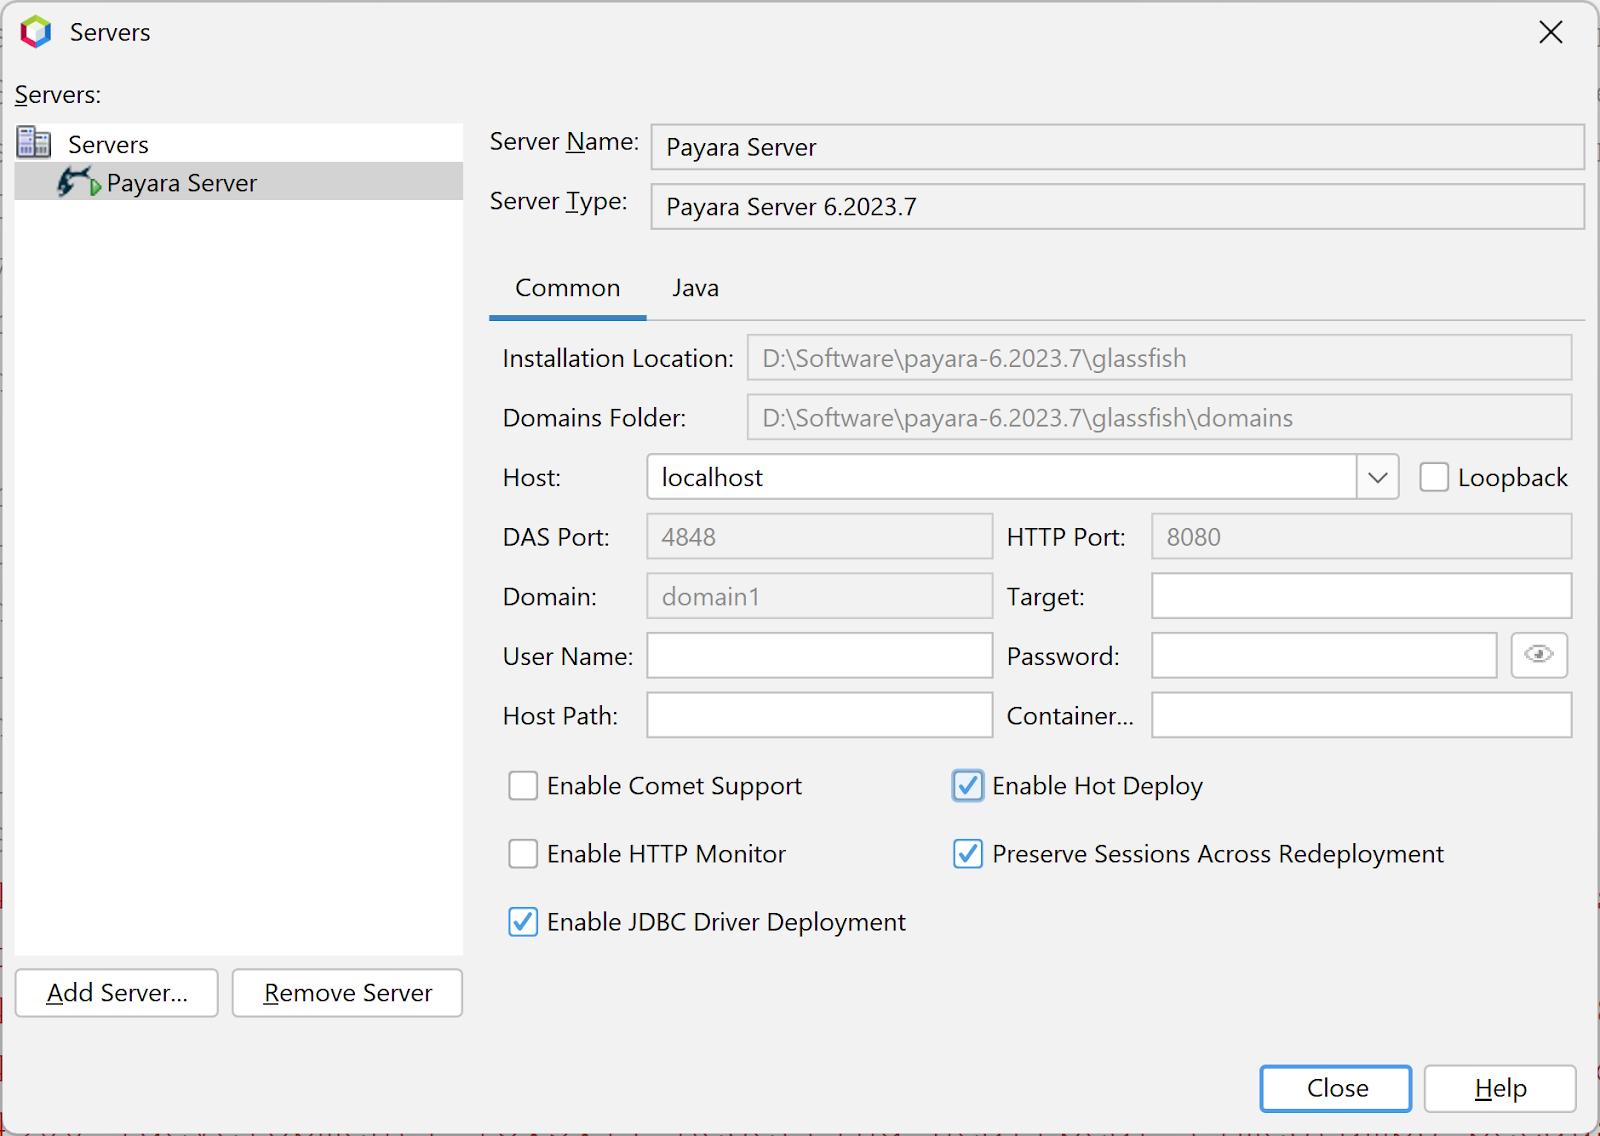
Once Auto Deploy mode is configured in the project, go to Services tab > Servers > Payara Server > Properties > enable the Hot Deploy option.
That’s it! Now the Hot Deploy mode is enabled, and you don’t have to restart or redeploy manually after each and every change.
See the following screencast to compare the application redeployment time in the both Vanilla and Hot deploy mode:
After enabling the Hot Deploy mode, the redeployment process is optimized except for the first redeploy task which saves the application state.
That’s how you can utilize Payara Server integration inApache NetBeans! By setting up your web application in Apache NetBeans, you can easily deploy, undeploy, and debug your application, along with other useful features, all from within the Apache NetBeans IDE.
Build Fast and Secure. ✅Supported.✅ Best for Jakarta EE and MicroProfile.✅
Share:

 7 minutes
If you worked with MicroProfile Health, you already understand the value of exposing application health information through standardized endpoints. […]
 1 minute
Modern high-frequency trading (HFT) platforms operate under extreme performance constraints, processing tens of thousands of messages per second while […]
 1 minute
Earlier this week, we’ve launched the 2026 Payara Platform Community Survey and we’d love to hear from you. If […]


Thank you for this useful piece of information. I was trying to create an Apache Netbeans project using Pauses 6 and NB18, but it appears the Jakarta libraries will not be listed in the library node. This leads to project showing dependecy missing(or imports do not locate classes). This is different from when I use glassfish 7 and 6. With GF all libraries are listed and project don’t show error due to missing libraries.
Is there anything I need to do to fix this.
Thanks for the comment, I would recommend posting your question to our Forum where you may be able to get more help. https://forum.payara.fish/